As a longarm quilter, I get lots of customers ask what my preferred way is for making and finishing off my binding. That is simple, I always use two tools.My first tool is the bias ruler. A bias rule is such a help for cutting the binding.
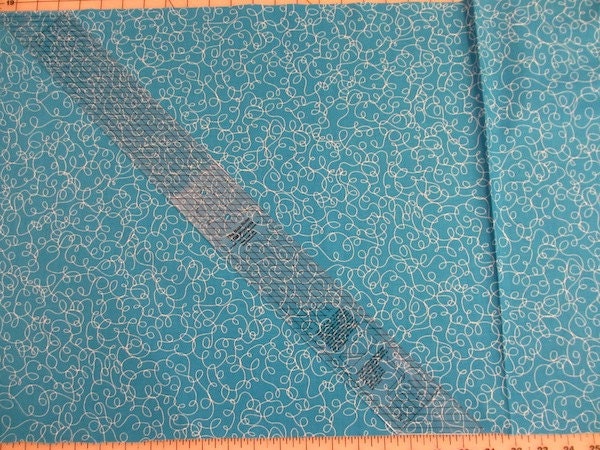
Open a half yard of fabric and lay flat.Lay the ruler on the fabric so the edges of the ruler touch the top and bottom edge of the piece of fabric.Make your first cut on the right side of the ruler.Then continue to move across the fabric. Cuts bias up to 2.5″
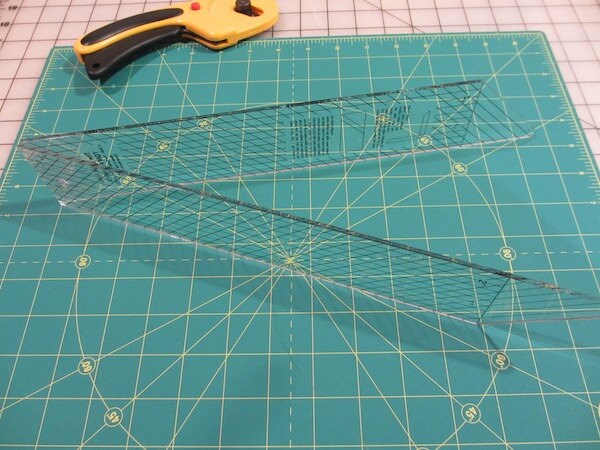
The ruler also folds in half making it easy for storage and for transporting.
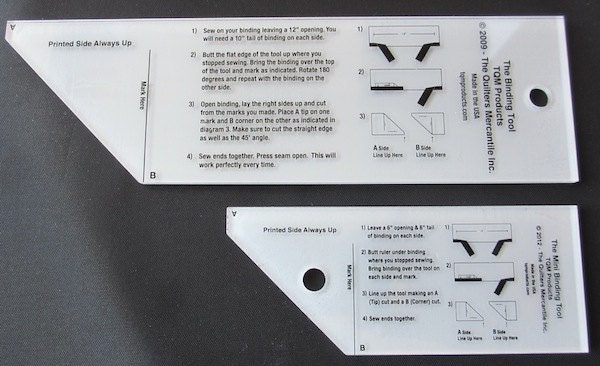
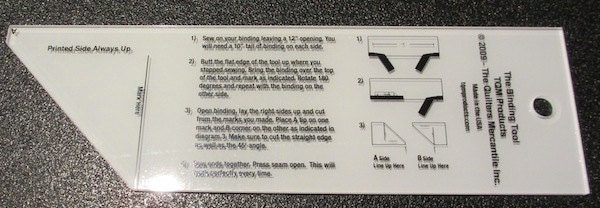
The second tool that I use is: The Binding Tool. The binding tool helps join the two ends of your binding.
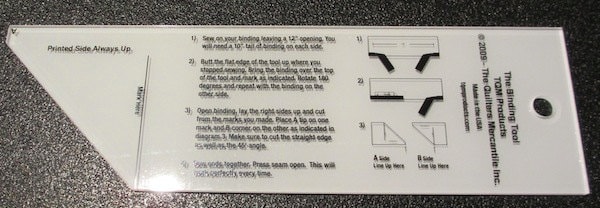
I love this tool and use it with every quilt I bind.
The Binding Tool is a must have tool for every quilter. When you finish the last seam of the binding only an angle seam will work to reduce the bulk of this last step. The Binding Tool makes a perfect ending every time. Two measurements and two cuts and you’re on your way to a great finish.
RULER INSTRUCTIONS
The instructions on the ruler are as follows:
1. Sew on your binding leaving a 12″ opening. You will also need a 10″ tail of binding on each side.
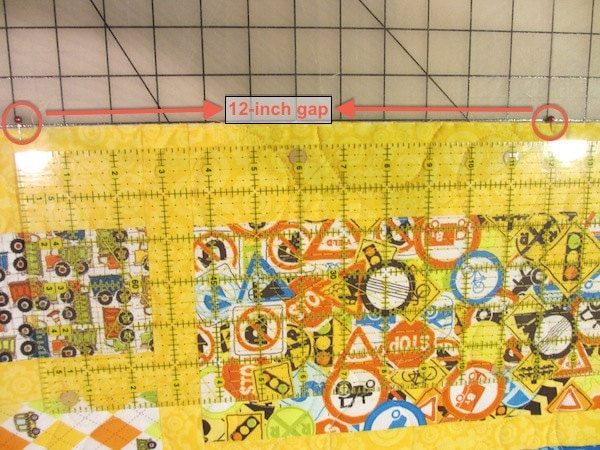
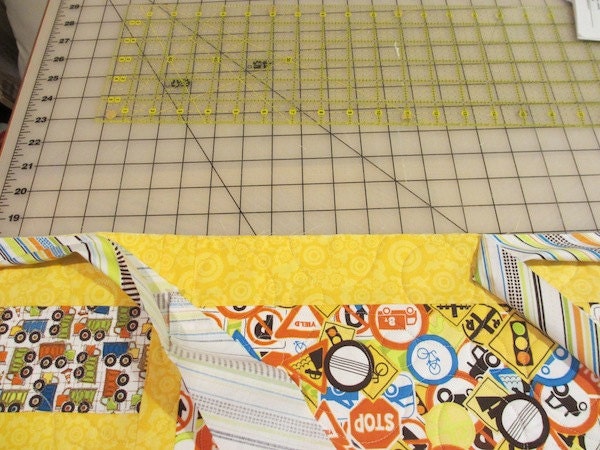
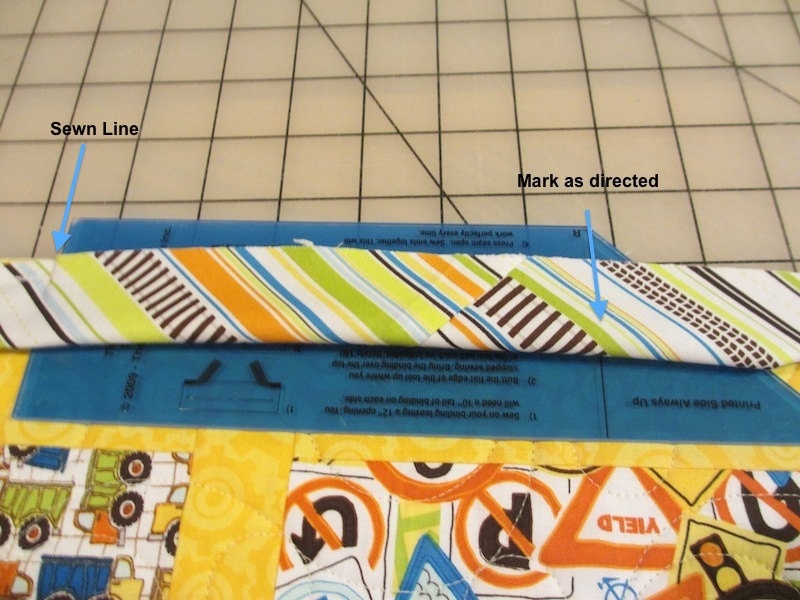
2. Butt the flat edge of the tool up where you stopped sewing. Bring the binding over the top of the tool and mark as indicated. Rotate 180 degrees and repeat with the binding on the other side.
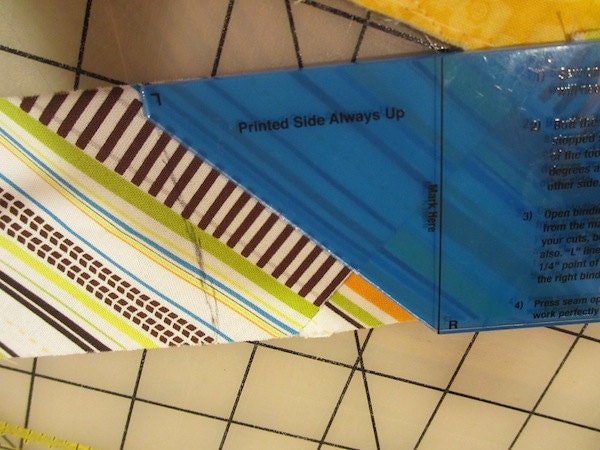
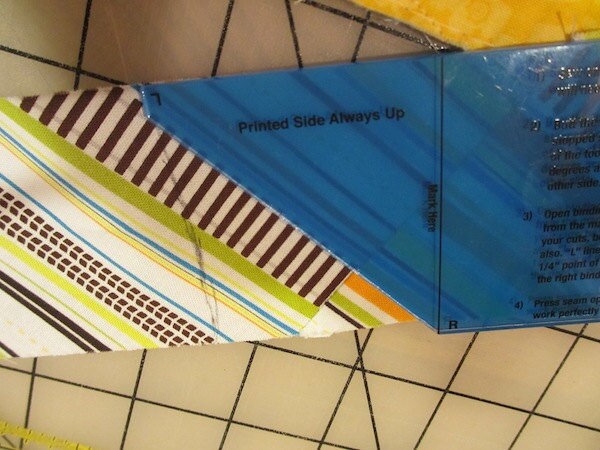
3. Open binding. Lay the right sides up and cut from the marks you made. Place a A tip on one mark and B corner on the other as indicated in the diagram on the ruler. Make sure to cut the straight edge as well as the 45′ angle.
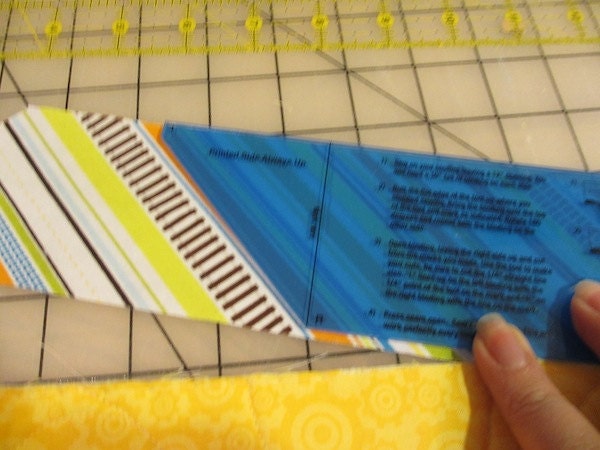
4. Sew ends together, press seam open. This will work perfectly every time.

We also stock the mini binding tool which is great for smaller projects like placemats, potholders and baby bibs.
